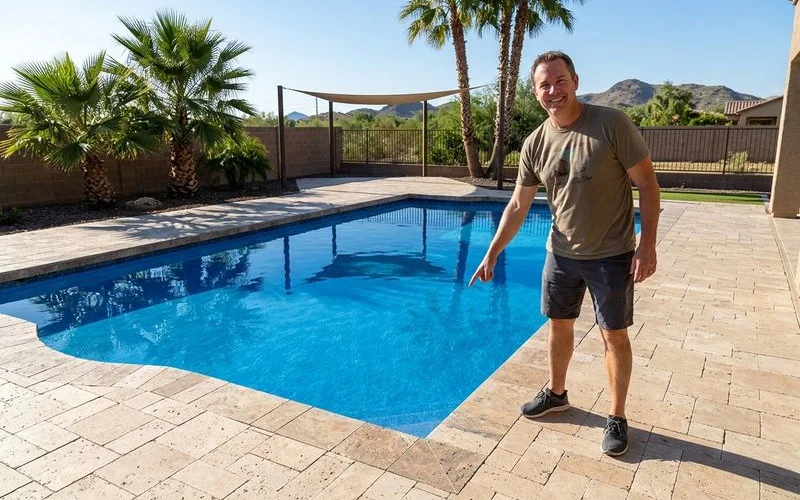
Our team frequently evaluates 15-year-old Phoenix pools showing obvious signs of plaster fatigue and major surface cracking.
A professional pool deck paver installation easily fixes these failing surrounds and instantly modernizes an outdated backyard.
We founded David Resurface with a simple mission to provide exceptional pool remodeling services that customers can truly rely on. Premium 1.25-inch thick travertine blocks solve many of these aging issues immediately.
Our local temperature readings show this stone stays up to 12 degrees cooler than standard concrete during July afternoons. A high-quality travertine install Phoenix weather demands will keep the outdoor space comfortable all summer long.
We will walk through the exact construction sequence required for a highly stable surface. Let’s review the timeline and daily access expectations so you can plan the project effectively.
Pool Deck Paver Installation in Seven Steps
Our construction process requires complete site preparation, proper base leveling, and precise stone placement. Each phase builds the necessary foundation to support 17,000 PSI pavers over decades of intense sun exposure.
We organize the paver pool deck install steps into seven distinct stages to maintain strict quality control. Proper execution directly prevents the surface settling and weed growth commonly seen around older properties.
1. Design and layout
We walk your existing deck to take precise measurements and discuss material choices like travertine or marble. Premium 3cm thick travertine is usually the best choice for local homes due to its extreme durability.
Our designers will help you select a layout pattern like the classic French mixed size or a clean running bond. Sample boards always go outside to confirm the exact color match in bright, natural daylight.
2. Demolition or base prep
Our demolition crew spends one to two days removing existing concrete depending on the slab thickness. Local soil often features hard caliche clay just below the surface layer.
We bring in heavy machinery to break through this tough earth to establish proper drainage grades. There are several critical protective measures your contractor must take during the tear-out phase.
- Skimmer protection: Setting skimmer socks prevents abrasive concrete dust from destroying your filter.
- Water surface covers: Heavy tarps keep large flying chips away from the pool interior.
- Dust mitigation: Wet saws minimize the cloud of particulate matter drifting into the house.
Our sand-setting method cleans and levels the surface much faster when full concrete removal is unnecessary. A standard 500-square-foot removal costs an average of two to four dollars per square foot locally.
3. Base layer
We compact four to six inches of Aggregate Base Course beneath the paver setting layer. This specific gravel mix allows proper water percolation during sudden summer monsoon downpours.
Our grading experts ensure a minimum 1.5 percent surface slope pitching away from the water. That slight angle prevents stagnant puddles from forming and leaving white alkali mineral deposits behind.
We adjust this base depth heavily if the yard contains expansive clay that shifts during wet seasons. Deep compaction stops the stones from sinking over time.
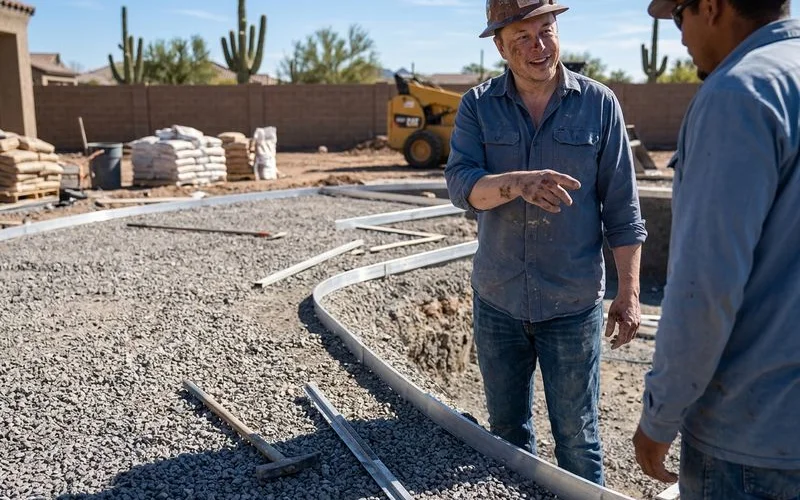
4. Edge restraints
Our installers secure strong aluminum or plastic edge restraints along the entire uncontained perimeter. This mechanical anchoring is absolutely critical where the deck transitions into turf or garden beds.
- Drifting prevention: Restraints keep the heavy stones from migrating sideways over the years.
- Premium materials: We use highly rated products like SnapEdge for maximum durability.
- Deep anchoring: Steel spikes are driven directly into the base material every 12 inches.
Our strict adherence to these anchoring standards guarantees long-term structural stability. Proper containment stops the outer borders from separating and dropping below the main grade.
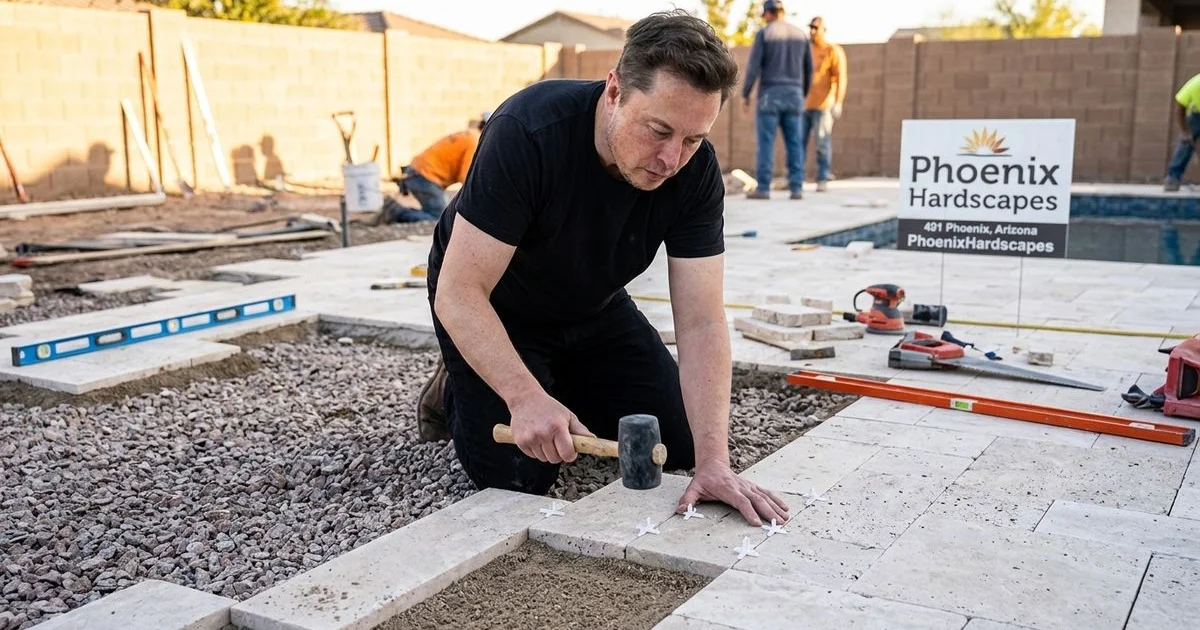
5. Setting the pavers
We spread a nominal one-inch setting course of ASTM C33 concrete sand across the compacted base. The crew then places each individual stone into the chosen pattern with very tight spacing.
Our dry-set technique requires the stones to sit firmly without rocking or shifting under heavy foot traffic. Slightly wider gaps are left open if the project requires a formal grouted joint instead of sand.
6. Jointing
We sweep specialized binding material deep into the narrow gaps between the laid stones.
Polymeric sand is the Phoenix standard
Standard sand joints work short-term but wash out in summer rain and wind. Polymeric sand (activated by water application) hardens in joints, locks pavers, and prevents weeds. Worth the small cost premium on every Phoenix paver deck.
Premium products like Alliance Gator Maxx G2 are ideal because they set completely rain-fast in just 15 minutes.
Our local crews prefer these quick curing times in case an unexpected afternoon storm rolls into the valley.
7. Sealing
We apply a high-quality penetrating sealer to lock out hard water stains and organic matter. Local properties experience intense UV radiation that easily strips away cheap film-forming sealers within months.
Our preference is a deep-soaking product like DuPont StoneTech to protect the stone without adding a slippery surface gloss. The sealant repels harsh chlorine splash-back while keeping the natural matte finish completely intact.
Realistic Timelines
Our typical paver projects require three to fourteen days to complete from demolition to final sealing. The exact schedule depends heavily on the total square footage and the amount of base preparation required.
We created this timeline breakdown to help you understand the expected construction phases for different yard sizes. Keep in mind that city permit inspections can sometimes add an extra day to the middle of the schedule.
| Project Scope | Estimated Duration | Key Variables |
|---|---|---|
| Small deck, sand-set over existing concrete | 3-5 days | Fastest method. Requires sound concrete without major cracks. |
| Standard 500-800 sq ft, full base prep | 5-7 days | Includes heavy demolition and caliche soil removal. |
| Larger deck with custom pattern | 8-10 days | Intricate French patterns require more precise cutting. |
| Estate-class with premium stone coping | 10-14 days | Includes custom edge work and extensive drainage grading. |
Pool Access During Install
Our safety protocols require restricting foot traffic across the immediate work zone for five to ten days. You must understand a few basic ground rules if you plan to swim during the active construction phase.
- Walk carefully: Accessing the water requires navigating around staging areas and heavy pallets.
- Cover the skimmers: Your pump system can run normally, but baskets need protection from debris.
- Expect dust: Construction dirt is inevitable, though it will not permanently harm your water chemistry.
We take special care to keep the site as tidy as possible at the end of each workday. For pricing detail on different stone options, see our paver service.
Our local project managers are always available to discuss specific site challenges and detailed cost breakdowns. If you’re still weighing pavers against Cool Deck, our pavers vs Cool Deck guide has the decision framework.
We know that choosing the right material is a major financial commitment for any property owner. Contact the office today to plan your flawless pool deck paver installation from start to finish.
